November 5, 2013

The Nail Files: Amethyst Glitter Holiday Nails

I feel like I haven't posted a manicure in forever and I was on Pinterest and Twitter this morning and the holiday talk is all jacked up! Christmas is officially on everyone's mind and I still have my Halloween wreath up on the front door. Nevertheless, it is that time again and I am really excited to join in on all this holiday spirit! With my favorite time of year fast appraoching I felt inspired today to share a holiday glitter nail polish look and a new Maybelline nail polish I just picked up! The fates are aligning.

I recently discovered the Maybelline Color Show Brocades Limited Edition collection. Whew- that's a mouthful. Anyway, I picked up the color 765 Amethyst Couture and I am in LOVE ❤❤❤.
It is a gorgeous deep rich intense purple [thus the amethyst] with small golden shimmer and large round light purple glitter suspended throughout. It is absolutely a must for the holiday season. This is such a unique color and glitter set up. You really have to see it for yourself.
So for today's look I simply painted one coat of Amethyst Couture and then painted my ring finger with a coat of Sephora by OPI's The Golden Age. I love how The Golden Age compliments the deep purple, something a little less traditional for the holiday season.

One thing that I find to be consistently true with the Maybelline Color Show polishes is that they dry on the matte side so I always make sure to follow up with my Essie good to go top coat. Also, something to mention if you do decide to grab this polish, it was a little tricky to apply, because of how big some of the glitter actual is, but I am willing to overlook the issue, because this color is so beautiful and these polishes are such a great price!

Have you tried a polish from the Maybelline Color Show Brocades collection? If not, what do you think of this polish for the holidays?



September 25, 2013

The Nail Files: Maybelline Color Show Ageless Olive


It's no surprise that I am a nail polish addict-self admittedly I might add. Aren't you proud? With the changing of the seasons comes the changing of the nail polishes that I reach for and now that Fall is in full swing {If the Texas heat would let up} I have started a nice little jumping off point. {see my Top 10 Fall Nail Polish video here}

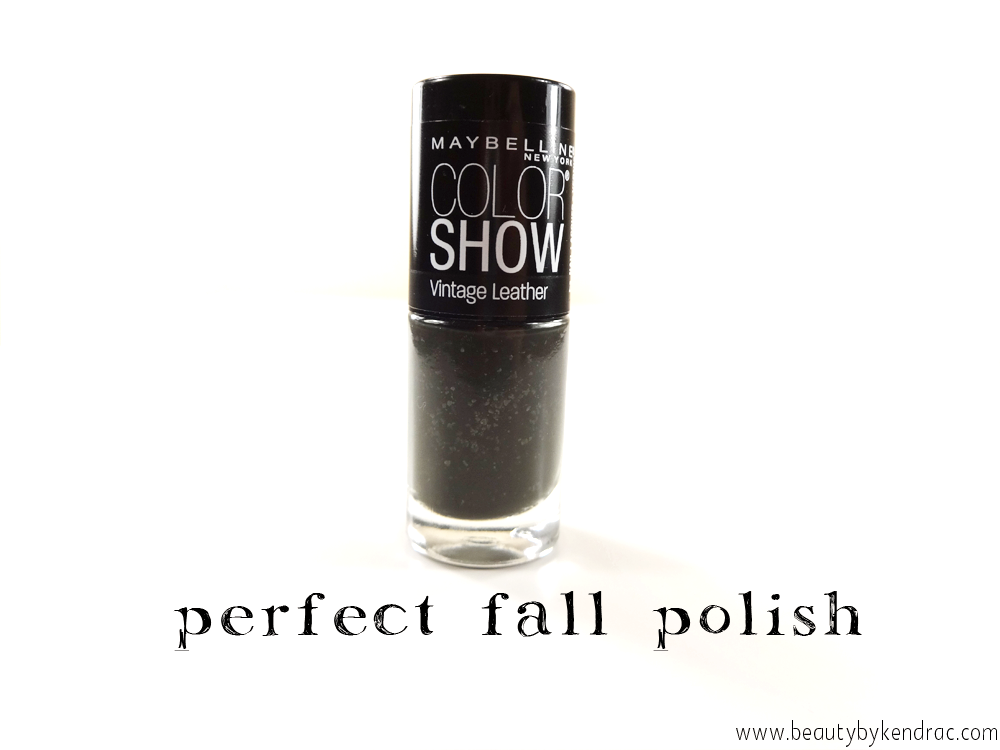
That being said one color that did make the list was from the Maybelline Color Show Vintage Leather Limited Edition collection in Ageless Olive. Peeps this polish color is a definite must have for this season.

First off it is such an amazingly deep murky green, what's even more is the fact that it is infused with tiny transparent flecks that give it the textured "look" without actually being textured to touch! Cool right?! I also love this polish because it is essentially a matte polish and that adds to the leather like appearance. While I do dig the matte option I fell in love with the color even more once I painted a coat of my trusty Essie good to go topcoat. The result is a vampy Fall nail color with a textured like look.

I will also gives props to this nail polish line, because at $2.99 a bottle it boasts a really great formula, abundant color selection, and on trend limited edition gems like this one! How can you go wrong? Needless to say I will be picking up a few other colors in this collection.

Have you tried polish from the Vintage Leather collection? What do you think of this one?


September 12, 2013

Top 10 Fall Nail Polishes


 WATCH IN HD FOR A BETTER VIDEO EXPERIENCE!!!!

Now that the season has officially turned and Fall is here {with the exception of Texas-still hot as heck here} I wanted to share my top 10 favorite nail polishes with you all!! This has to be one of my all time favorite videos to watch. I am like a kid at Christmas when people share their favorite Fall nail polishes.

I have put together a list of polishes that I will be reaching for over the next few months and I couldn't be more excited about my choices! I hope you enjoy and don't forget to comment and let me know what your favorites are!!


PRODUCTS MENTIONED:

OPI Lincoln Park After Dark, OPI Light My Sapphire, Maybelline Color Show Vintage Leather Collection in Ageless Olive, OPI Unfor-Greta-Bly Blue, Hard Candy Bity Blue, Essie for the twill of it, Butter London British Racing Green, Essie stylenomics, OPI Bogota Blackberry, Essie licorice

May 28, 2013

Nails Of The Day: Graffiti Art

I hope you all had a great weekend! It was a long weekend here in the US and my first Memorial Day weekend! I had a great weekend and basically laid by the pool all weekend long, it was just what I needed to relax for the week ahead!! Although I have a sunburn to nurse now!

I realized that because of the long weekend I was a little thrown off for Manicure Monday and so I woke up today and decided to to a Nail Of The Day post to make up for the miss.

I wanted to do something a bit sassy today and so here are my Graffiti Nails as I call them! I hope you like!!!


What You Need:

4 straws cut in half
Scotch tape
4 nail polishes to create the graffiti combo 
A white polish for base
Topcoat

Here's How:

Start by painting all nails with a white polish, I used Sally Hansen's White On.

Paint a fast dry topcoat over the white polish, I use Essie's good to go.

Then using the tape, tape around each nail following the cuticle. This is to prevent a big mess at the end.

Next dip a cut straw in the the 1st of the 4 colors you choose, quickly blow the color onto each nail. Don't worry about it looking messy, randomness is favored here!!

Continue dipping the next straw into the next polish color. Repeat this process until all 4 colors have been blown onto nails.

Wait for the polish to set and then apply a topcoat.

Remove tape once topcoat has set. You might have to do a bit of clean up around the nails, but the tape should catch most of it!

That's all there is too it! I love this manicure because it's fun and messy! Perfect for this season too if you choose to use neon or pastel polishes.

Will you wear this graffiti look on your nails??


April 8, 2013

Manicure Monday


Happy Monday to you all! I hope everyone had an amazing weekend! I am here today with another Manicure Monday post! 

Today I wanted to try something geometric! So keep reading to find out what I used and how I did it!

What I Used:

(left to right)

Sally Hansen #300 White On

love & beauty Neon Pink
Essie Mink Muffs
L'oreal #530 now you sea me
Nail Art Brush

Here's How:

Paint all nails with L'oreal now you sea me. I used 2 coats to make sure I get the full color.

Using the nail art brush and Mink Muffs begin drawing random connected lines on all nails.

With a clean nail art brush and White On, trace along alternate sides of the Mink Muffs lines.

Pick up the Neon Pink and trace opposite sides of the Mink Muffs and White On.

Paint a coat of top coat to seal in the manicure. I use Essie good to go!

That's it!! Super simple fun design!

I hope you liked my geometric manicure today! What are you wearing on your nails right now??


March 27, 2013

Accessories of the Day


I hope you are all having a great week! We have made it to the middle and I am so excited, because it's a short week this week! YAY! 

Today I wanted to do another Accessories of the Day post, because I broke out a pair of earrings that I haven't worn in so long and felt inspired to share. I hope you enjoy!

(from top left to right)

As I mentioned it were the earrings that inspired this post, I love these so much, I picked them up at Forever 21, where else?! Ha! I think that I am going to keep my eye out for more pieces like these. I love the material woven in with the earrings and even more so that it's neon! I think it gives a different dynamic to a pair of regular old earrings. I also love the detailing on these earrings!

Today on my nails I am wearing a color that I had been searching high and low for, Essie Topless & Barefoot. I finally was able to pick this color up at Ulta. I am officially obsessed with this color for Spring/Summer. It is the perfect nude and really brings out the tan in skin. It's not too pink, not too yellow, just perfect! I think I will be putting my Ballet Slippers away for a while. New fav for sure!

I have posted on my blog and Instagram photos of this bracelet, but I just can't help taking about it. A little hardcore without going overboard, a great everyday piece that looks great on it's own or paired up with some gold bangles. Again from Forever 21, they always have something for everyone and it's great to be able to shop there with the great prices, especially if you like to switch it up like I do!

Last but not least, I have talked about how in love I am with stacking rings and these are great, because they also have a great pop of color.

I hope you enjoyed seeing what my accessories are for the day! What accessories are you loving right now??


March 18, 2013

Manicure Monday


Hello and Happy Manicure Monday! I hope you all had an amazing weekend! I can't complain, because the weather here in Texas was gorgeous! I spent all weekend outside soaking up some rays!

I was really excited for this Manicure Monday post, because I knew I was going to be showing you all a newer color from the L'oreal spring line called Royalty Reinvented. This color is the perfect Spring color and I have a feeling I will be reaching for this alot!! If you are looking to add a color to your collection and don't already have this I highly recommend it. It's the perfect pastel purple.

One other thing I have to mention is the brush applicator that these polishes have. It is brilliant. Makes the application flawless and effortless. I think that all nail polishes should come with this exact brush!! YAY!

I hope you all having an amazing week!! What do you think of Royalty Reinvented???


March 11, 2013

St. Patrick's Day Nails

It's that time of year again when the luck of the Irish is on everyone's mind! St. Patrick's Day is just around the corner! I decided it would be a fun idea to give this week a St. Patrick's Day theme!

Today I decided to showcase a little nail art to kick the week off!

Remember you can substitute any of the nail colors I have used for your own! It's about being creative!


Here's what I used:


Sally Hansen Hard As Nails Xtreme Wear in 340 Mint Sorbet
Sephora by OPI in The Golden Age
Nicole by OPI in It Starts With Me
Essie in Stylenomics
1 Nail art brush


Here's how:

Paint all fingers, leaving ring finger unpainted, with Mint Sorbet. I used 2 coats, because pastels tend to be milky and a bit streaky, 2 coats usually does the trick.

Paint the ring finger with It Starts With Me. I used 3 coats, this color is a bit sheer, I wanted it to pop a bit more.

Now using Stylenomics and the nail art brush, paint three hearts in a half circle shape, this is the base for the clover! Paint a stem in when the hearts have been completed.

Using a clean nail art brush grab some The Golden Age glitter and place it along the cuticle base. You can add as much or as little as you like!

Finish the look with a fast dry top coat. My favorite is Essie's Good To Go. Read here to find out more about this amazing product!

That's it! A simple, but festive nail look to get you in the St. Patrick's Day spirit!

Will you be trying this nail look?


January 28, 2013

Manicure Monday


I can't believe it's Monday again already! Last week flew by way too fast! With that being said it's time for another Manicure Monday!! Yay! 

To create this look I used OPI's Bogota Blackberry, which is this beautiful black with a burgundy undertone! This has to be one of my favorite polishes of all time!

I recently purchased a dotting tool so that I could explore the world of nail art! I used the dotting tool and the metallic silver polish from the Forever 21 Love & Beauty nail polish line and randomly began dotting my ring finger! I then used Nicole by OPI's Confetti Fun from the Selena Gomez collection to fill in any space!

I hope you enjoyed this look for Manicure Monday, have a great week!! What is your manicure this week?

January 21, 2013

Manicure Monday


I wanted to share a nail color that I have been loving the past few weeks. Mink Muffs by Essie, this is a staple color in any nail addicts collection and I am no exception. This is the perfect winter color, it's the seasonal answer to the nude nail.


Definitely a classic go to nail color that would look great on any skin tone!


December 7, 2012

Christmas Countdown[Beauty Tip]: How To Remove Glitter Nail Polish


Tis the season of glitter polish! With all of the Christmas parties and get togethers the amount of glitter polish applications most likely triples or at least in my case it does. As a part of my Christmas Countdown I thought it would be fun to share a beauty tip.

That being said I know how terribly frustrating it can be to remove glitter nail polish since the glitter is basically suspended in clear GLUE! I don't know how many hours I have spent sitting scrubbing and tugging at my nails to remove glitter. Not to mention the amount of cotton pads and nail polish remover that is wasted!

Well no more, I have found a way to remove glitter polish without the scrubbing and tugging and can be completed in about 5 minutes! Amazing right?!

Let me show you how...


What you'll need:

Nail Polish Remover [any kind will work] I use Sally Hansen's Nail Polish Remover in Salon Strength.
Cotton Pads
Tin Foil

Here's How:

Cut tin foil into about 1 to 1.5 inch strips wide.
 
You will then take a cotton pad and put a generous amount of nails polish remover on it.

Wrap the cotton pad around your fingernail.

Then taking a tin foil strip carefully warp it around the cotton pad and your fingernail, once it is wrapped around give it a squeeze so it is tight around the nail.

Repeat this for all nails.


Let your tin foil nails sit for about 5 minutes. Once 5 minutes is up remove the tin foil and cotton pad by squeezing and pulling away from your body, off the nail.

Watch as the glitter is gone! It's that simple! 

Don't forget to wash your hands thoroughly with soap it's not good to let the nail polish remover sit on your skin.

Give this a try and let me know how it works for you! Also if you have any glitter removal tips I would love to hear!


November 21, 2012

Nails: Maybelline Color Show in #240 Twilight Rays

I had noticed this nail polish for a while now, but always passed it up, because it never really screamed out to me! The packaging wasn't anything that grabbed me. (I think that if the packaging of a beauty product is something special or done really beautifully it can make trying that product so much more!) 

Yesterday I decided that I would give it a chance. The price is actually really good for a polish if the formula can hold up and what the color pay off is like. It is around the $ 3.99 mark.


I wanted to find a color that would be representative of this season and the holidays! I reached for #240 Twilight Rays and I am so happy that I did! The color is really beautiful, it is a black base infused with a really beautiful golden shimmer! I think having dark dramatic colors is nice this time of year, but when reaching for a black I think it's best to go with something other than a solid black. It can really make your hands look drab this time of year. So the golden shimmer is perfect! 

The formula was really nice, it applied smoothly and I used 2 coats, which was more than enough. The brush is soft and pliable which makes for an easy application. All in all this polish is great! I am really happy that I picked one up to try and would definitely repurchase and try other colors! As far as longevity of the polish I can't comment on that as I only applied it yesterday, but wanted to share my thoughts, because I love the color!

Have you tried this polish? Thoughts?


November 20, 2012

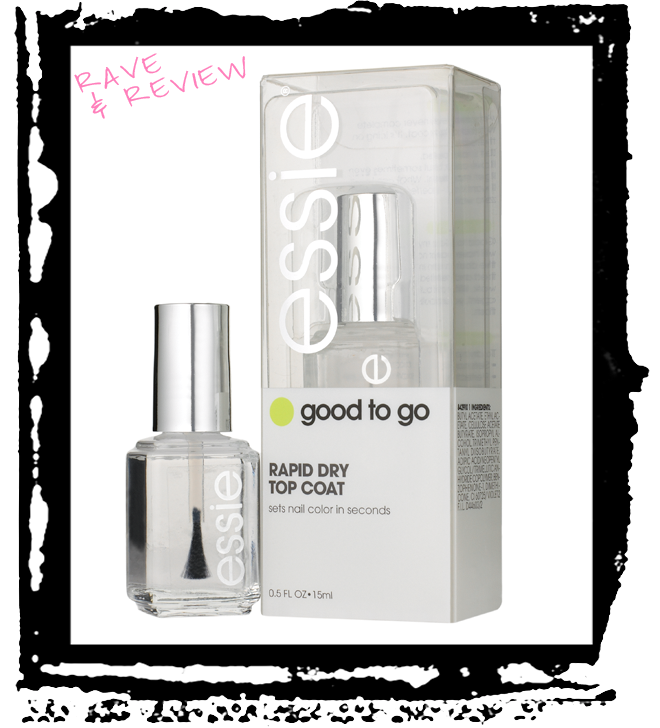
Rave & Review: Essie good to go


It's known that I have a nail polish addiction. That being said I wanted to share a product that I have been using for about 3 months now. Essie's good to go rapid dry top coat.

I think it's really important to have a great quality top coat. For starters, because you spend all that time manicuring and painting your nails, you want to make sure that it is all locked in so that you get the most out of your polish and because it really can make a world of difference how your nails look once finished.

I have tried a variety of top coats, everything from high end to drugstore and don't get me wrong, I have found some really good ones, but nothing compares to this!

Now, I love to switch up my polish every 3-4 days so you can image how many times I am painting in a month. It's a lot! That being said I need something that is going to speed up my drying time as well, because I am not a very patient person and find it really annoying to sit and wait for my polish to dry. Ugh!

This top coat literally seals and drys the polish in about 30 seconds. I know that seems completely unrealistic, but it's true! They are dry to touch in about 30 seconds. Now not to get ahead of ourselves and assume they are dry down to the nail, but dry enough to go about your day, just be careful and make sure not to be too rough on your nails for at least a good 10-15 minutes!

Something else that I love about good to go is the fact that it makes your nails look super shiny and glossy. I have actually been asked numerous times if my nails are Shellac!! I think that's amazing, considering it's just a little bit of top coat! It just gives the nails an amazing brilliance.

All in all this top coat is by far my favorite! It cuts down on buying a top coat and drying product, because it's a 2 in 1. It drys the nails within seconds and it gives the most beautiful glossy finish. 

I highly recommend this product if you are looking for a great top coat!


November 8, 2012

Nails: Revlon Colorstay 260 Bold Sangria

I wanted to share the newest nail polish to my collection. The Revlon Colorstay in 260 Bold Sangria. It is the perfect color for this winter, a beautiful rich purple. I have a few polishes that border on black with the slightest hint of color, which I love, but I wanted a polish that still had the depth but more pop of color.


This is my first Colorstay polish to pick up and I love love love the formula, it applies beautifully and the brush is the best part! It's flat which makes application a breeze!

Have you tried this brand of polish? What were your thoughts?